It's been over two years since
we remodeled the upstairs bathroom, and now we've finally starting making some headway into the downstairs bath.
The
subfloor and cement backer board was finished a couple of months ago, but we had to wait a little while to choose (and purchase) the tile and fixtures we wanted to install. At this point, we've got everything but the bathroom sink, so the work has begun. Fortunately, I was home alone last weekend (plus a couple of evenings beforehand), so I was able to make quite a bit of progress on both the floor and the walls. To avoid this post length getting out of control, today I'll just talk about the floor.
When choosing the floor tile, we wanted something similar to the upstairs bathroom, but still a little different, so we got 10 cases of Merola's
Metro Hex Glossy White with Single Flower Porcelain Mosaic Tile from Home Depot. One case had at least one chipped piece on each sheet (there are 10 sheets per case), but the other cases were fine. We'll save the chipped sheets (plus any other miscellaneous overages and individual hexes) for repair pieces. The most annoying part was that every sheet was individually shrink-wrapped, so I wasted an hour just opening boxes and unwrapping each piece.
Once the tile was ready to go, I laid out a few sheets on the bare floor to see how the pattern would fall, then mixed the thin-set mortar (much cheaper than pre-mixed mortar), grabbed my tools, and starting laying tile. (If you're looking for a more detailed process with pro advice, check out tile floor pages on
The Family Handyman and
This Old House sites.)
I relied on my eyballs rather than using spacers between the sheets, since that's what we did upstairs and it turned out fine - however, I'd forgotten that this bathroom is quite a bit bigger, so minuscule spacing errors here and there can eventually add up to larger problems. Fortunately, because the hexes are glued to a mesh sheet, you can lay the sheet down on the wet mortar and then 'adjust' it a bit by pushing or pulling one (or more) edges. You can't do this with big square tiles! I didn't end up with any unfixable problems, but there are definitely a few sections where the spaces between tiles are a bit thinner or wider than they should have been.
 |
| This was the first evening's worth of work - about 4 hours or so. |
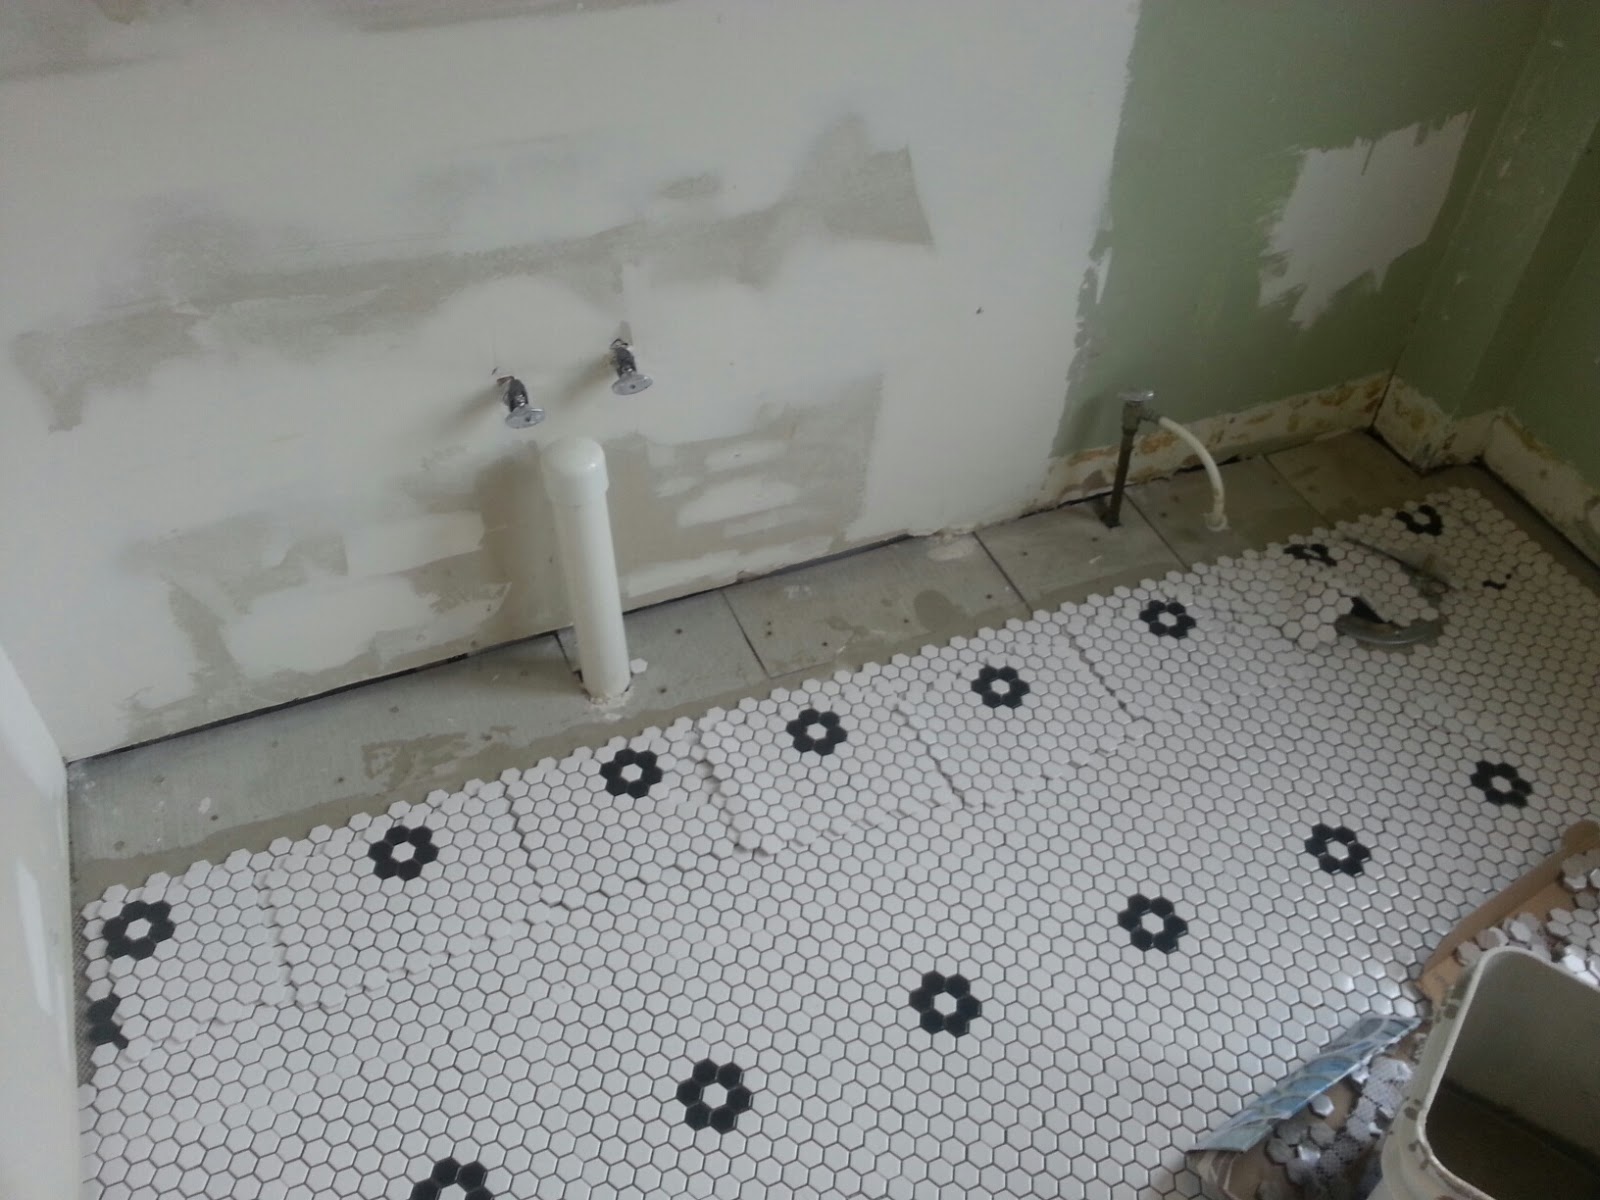 |
The second evening got me most of the way to the opposite wall.
This is a 'day three' photo, after I cut the sheets to fill the space; you can see the sheets laid out here. |
 |
| Because the walls weren't square, I also had to fill in a small gap on one side. |
 |
| As the gap narrowed, I had to cut individual tiles to fit. |
In the above photo, you can also see the placement of the 'trapdoor', which is the only access to the crawl space and pipes. Should the pipes ever burst again (heaven forbid), we'll have to cut up this part of the floor to get to them. As an extra safety measure, I marked the edges with a single black hex that will mostly be covered by the wall tile.
 |
| The gaps have been filled. The wall tile will cover any tiny gaps between the floor and the wall. |
 |
| Another shot of the 'gap no more.' |
Once the mortar hardened, it was time to grout. As we did upstairs, we used a plain gray grout. (
Side note for literature buffs: I didn't use it, but I did find a gray grout color called "DeLorean Gray". Sadly, I seem to have deleted my photo, so I can't share with you my "Picture of DeLorean Gray"...)
After grouting and wiping off the excess with a damp sponge, I had a grouted floor with just a bit of residue ('haze') on top. The next day, I sponged off the haze to reveal a finished floor!
And that's it! All that's left is to put on some grout sealer, but the grout needs to cure for a bit, so that's still to come.
Next post: wall tiling!


Comments
Post a Comment